Wednesday, September 14, 2011

Candy Corn "Mellow" Pops

Last year I was on a chocolate covered marshmallow kick and I can't wait to make these again this year!


The pictures should have been taken BEFORE they were wrapped but you get the idea.

To make them can't be easier.  All you need is a bag of marshmallows, white lollipop sticks (about 6 to 8 inches long), and any color of your choosing of candy melts (I used Wiltons).

I like to use a deep, narrow container to melt the candy in to allow the submersion of the marshmallow.  Add the candy melts and microwave on medium for 1 minute.  Stir and keep heating at 30 second intervals, stirring after each one.  The candy melts will still be quite thick and not very good for smooth dipping.
If you like it that way, that's ok, but I like to add some shortening to it after the first minute.  The shortening will thin out the candy enough to evenly coat the marshmallow.

To coat more than one color, let each marshmallow rest in between each color dipping for about 10 to 15 minutes, longer if needed. Then continue dipping as desired.

I dry them, I picked up a big slab of styrofoam at Michael's crafts and with a wooden dowel, poked evenly spaced holes in it.  The marshmallow pops (or Mellow Pops as my kids have dubbed them and it's now stuck) stand up on their own to dry.  Keep in mind if you thin your candy too much, the pops might get drippy.

Brimfield - A Local Treasure

Hello.  Hi there.  Remember me?  Well, I haven't forgotten you.  It's been a while and what a busy summer we had.  All the grand plans we had laid out like taking the kids to New Hampshire to Story Land didn't pan out.  They were able to go to the beach though - twice!

Some of my goals for the summer was to hone in on some baking to get ready for the upcoming fall and winter but my real life job made that a little difficult.  You see, I recently was promoted and that requires more attention and hours.  So any free time I do have I spend with the kids.  They will only be little for so long and I do enjoy them.

So anyway - I have A LOT of catching up to do. I squeezed in a little baking and will post pictures when I have time gradually as to not saturate you.

But getting to the real topic of this post now. One of my favorite past times is making the almost-one-hour trip over to the Brimfield Antiques Fair.  I try to go every September but didn't make it this year.  But I did make it last September and had a blast all by my lonesome self. But it wasn't lonesome you see.  I made friends... let me introduce you to them...


Ok. Yes. They. Are. Creepy.  The not-so-artsy side of me would never have thought to take orphaned doll heads and appendages and make coffee and oil can bodies for them.  Clever, but again, creepy.  I swore I thought I heard them call my name as I walked by.

Besides this though, I met a few nice people.  One of my favorite booths was Red Door Antiques.  You can visit their blog here too http://www.thereddoorantiques.blogspot.com/.

I got some cool things to go with the Alphabet themed birthday party for the triplets last year and just remembered I picked up some little cardboard letter tiles to spell out B-O-O  as part of the Halloween decor this year.  Now I just need to find them....

I have had it in my head to make a custom Cupcake Display and found the perfect end table to do so.  It's all planned out except for the color.  Do I paint it bright white, cream, chocolate brown or black? I've even thought about using chalkboard paint but might nix that thought.   So this is one of the little projects I have planned for this winter. Pictures will be posted!

Have you seen those trays that have lots of little cubbies that used to store printing press stamps?  I picked one of those too and will end up using it as sort of a shadow box with all black and white pictures.  Each block is the same size, about 2 inches square, and should be perfect. Pictures too, will be posted on this project.

The reason I'm letting you in on my plans? To motivate me!  They have been sitting up in the garage loft since last year and I can't stop thinking about them! I've seen that Martha Stewart has a new line of craft paint out and I might just have to try it!

So I have a few posts to follow this just in time for the upcoming fall season.  We still have a few more days of summer and I think I might just miss it. Not sure I'm ready for it to leave yet.

Thanks for stopping in and remembering me! ;-)

Saturday, July 2, 2011

Happy 4th of July!

July 4th has always been one of my favorite holidays.  I saw the cookies on the July issue of Martha Stewart Living and immediately knew I had to make them.  This technique is one of the easiest to do and the end result looks as if you spent hours on them. Many people ask "how did you do this?" Jokingly I reply "with magic."

Here in Massachusetts we've had a bit of a rainy spring and introduction into summer.  It's been seasonably warm - actually perfect - but when I made these cookies this week we had a little humidity.  Historically I don't bake in the summer but with central air conditioning, I thought I'd give it a try.  Overall it wasn't that bad but the icing took FOREVER to even slightly dry.  The cookies still have a soft coating of icing so stacking them is out of the question.   My three layer cupcake holder has flat inserts for cookies so it was super handy when I brought 3 dozen into work on Friday. Happily, by noon they were gone.

So a few more dozen are ready to go to my parent's house tomorrow for some fun July 4th festivities with friends and family.  We are hoping the kids will be able to make it to see their first fireworks!

Wishing you all a safe, happy and patriotic Fourth of July!


Thursday, June 23, 2011

Raspberry Lemon Cupcakes

For a neighborhood Memorial Day barbecue I made a batch of Lemon Cupcakes which turned out pretty good. It was a lemon cake topped with lemon frosting.  They were yummy but I think they were a tad too lemony.  I used fresh squeezed lemon juice for the frosting but may opt for a lemon extract next time.

I've been dying to try this new recipe - Raspberry Lemon Cupcakes. It used fresh raspberries and now that they are in season in our local supermarket, I could buy them without breaking the bank.  The recipe made 24 cupcakes and that's exactly what I got.  No taste test cupcake for Michael this time!

These cupcakes were incredible!!!  I brought them all to work and they received rave reviews. Many people said these were the best ones yet.

The recipe called for cake flour which I thought would make the cake dry but it was a perfect texture with a light, lemon taste.  But it was the frosting that did it.  Who would have thought that just a mere half cup of raspberries, pureed and seeds removed, would make such a delectable topping.

I picked up three more containers of raspberries tonight and to freeze some more puree so I'll be ready for a new batch.  Next time the cake will be injected with some lemon curd for an extra zing.

My dad's birthday is coming up in July and I think this will be just the thing - a dark chocolate cake with  raspberry frosting. Yum!


Random Cookies - a Test Batch

Just when I thought I'd have some spare time to get my baking on, life throws you a curve ball. The kids need more of your attention, work gets busier and plans get made.

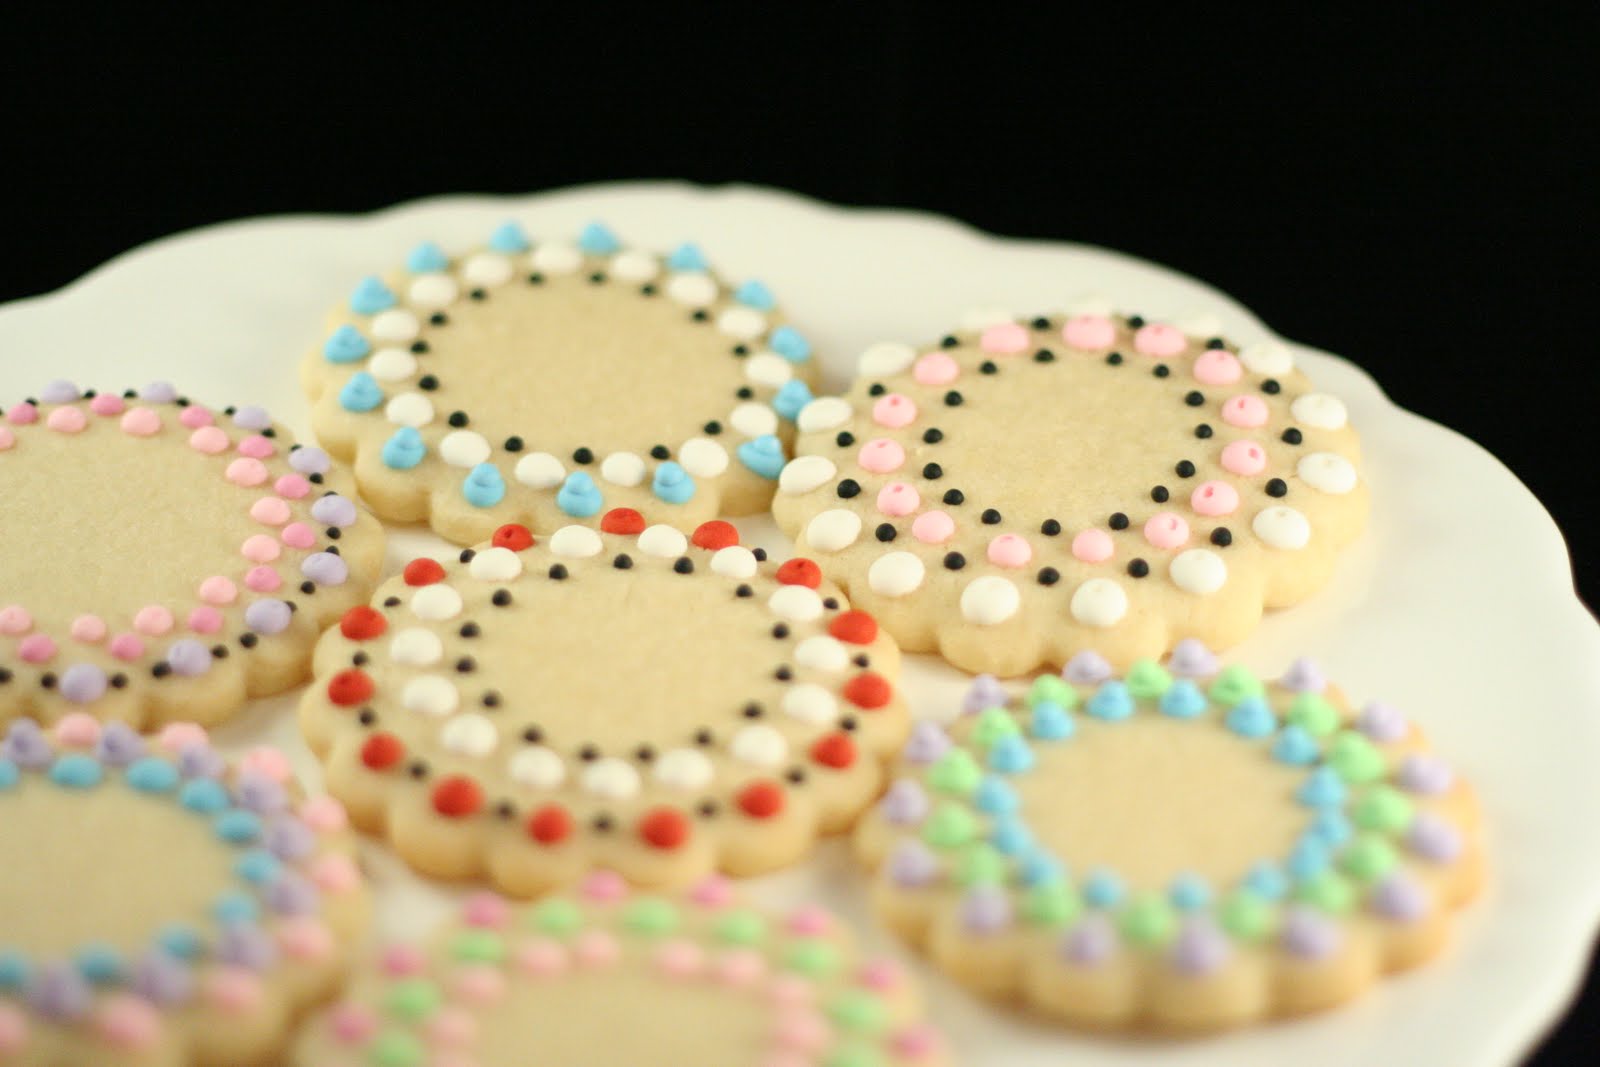
Before Easter I made 4 batches of sugar cookies.  About half of them were turned into the Easter cookies in the previous post and the remaining half were developed into squares, rectangles and scalloped circles.  They were baked and packed away carefully in the freezer. About 4 weeks later they emerged and the test was to see if they would be as fresh coming out as they were going in.  They were!  They tasted fresh baked and were moist and flavorful.

I sometimes struggle with how to decorate a naked cookie and most of the time draw a blank.  I draw inspiration from a lot of other magnificent bakers and hope to aspire to their talents one day. Practice makes (almost) perfect so with this recent batch, I just wanted to get the icing flowing and see what happened.

Below are many of the cookies that came from this test batch.  Some I'm thrilled with and will move forward with some of the designs/techniques.  Others were just so-so.

Michael got to take a big batch of flowers to work and some of our neighbors received plate-fulls of cookies. As much as we'd like to, we just shouldn't eat them all.


Thursday, April 21, 2011

Easter Cookies!!!


Recently I made four batches of sugar cookie dough in preparation for Easter (each batch makes 8 dozen inch cookies -that's A LOT of cookies!). An assortment of bunnies, eggs, chicks and carrots were baked and filled the kitchen. A few butterflies and other shapes were baked but wrapped and tucked away in the freezer for later.

Hours were spent in the kitchen last weekend decorating the majority of the cookies for family and willing taster testers at work. I think a record was set with how fast they disappeared!

We celebrated Easter a week early with my in-law's and brought a cookie assortment for all. 


The pictures did not come out all that great. I dropped my camera last year and broke my Canon 50mm lens. I've been able to jimmy-rig it so it's still usable but it's pretty much quit on me. I think it just plain-old needs to be replaced.  Crummy part is I dropped it during the warranty period but it never dawned on my to send it in. Duh.

These were really fun to decorate. The food color markers came out and brought a little life and whimsy to the bunny faces.